At Peña Txuri Surf School, we know that the first ding on your surfboard hurts almost as much as a wipeout. It’s a battle scar, yes, but it’s also an open door to bigger problems if not dealt with promptly. One of the most important lessons we teach, beyond in-water technique, is how to care for and understand your gear.
Repairing your own board is a rite of passage that connects you even more with surfing and marks your progress in knowing what your surfing level is. It’s not just about aesthetics; it’s fundamental for the lifespan and performance of your wave-riding companion. Dings on a surfboard allow water to penetrate it, and this is a serious problem. The inner foam gets soaked, which can cause much greater damage, as well as making the surfboard heavier and lose buoyancy.
So, let’s get to it! We’ll teach you how to do it right.
Índice
Before You Start: Polyester (PU) or Epoxy? The One Mistake You CANNOT Make
This is the most critical point. Before buying any materials, you must know what your board is made of. Understanding the different types of surfboards is the first step.
- Polyester Boards (PU): These are the most traditional. They use polyurethane foam and are repaired with polyester resin.
- Epoxy Boards (EPS): Lighter and more durable. They use polystyrene foam (the “white styrofoam”) and MUST be repaired with epoxy resin.
Peña Txuri Tip: NEVER use polyester resin on an epoxy board! The chemical reaction will melt the foam and create a much bigger problem. When in doubt, ask your local surf shop or a professional. Epoxy resin, however, works on both types of boards.
The Quick Fix (So a Ding Doesn’t Ruin Your Session!)
For small dings or when you’re on a surf trip, quick-repair kits with UV resin are your best friends. If you prefer, you can use resins that are already pre-mixed, such as Solarez, which cure with sunlight.
Quick Steps:
- Make sure the ding is dry.
- Lightly sand the area.
- Apply the UV resin in the shade, ensuring you fill the crack completely.
- Place the board in the sun for 5-10 minutes. The resin will harden completely.
- Sand the excess to make the surface smooth.
And you’re back in the water! This is a temporary but very effective solution.
The Full Repair at Home: A Step-by-Step Guide
For more serious damage or for a professional-level job, follow the method we teach at the school.
Step 1: Drying, the Number One Commandment
“The first thing you have to do to repair your surfboard is to dry it well.” If water has gotten in, leave it in a warm place for several days until there’s no trace of moisture. You can place it in the sun, but be careful.
Step 2: Preparing and Cleaning the “Wound”
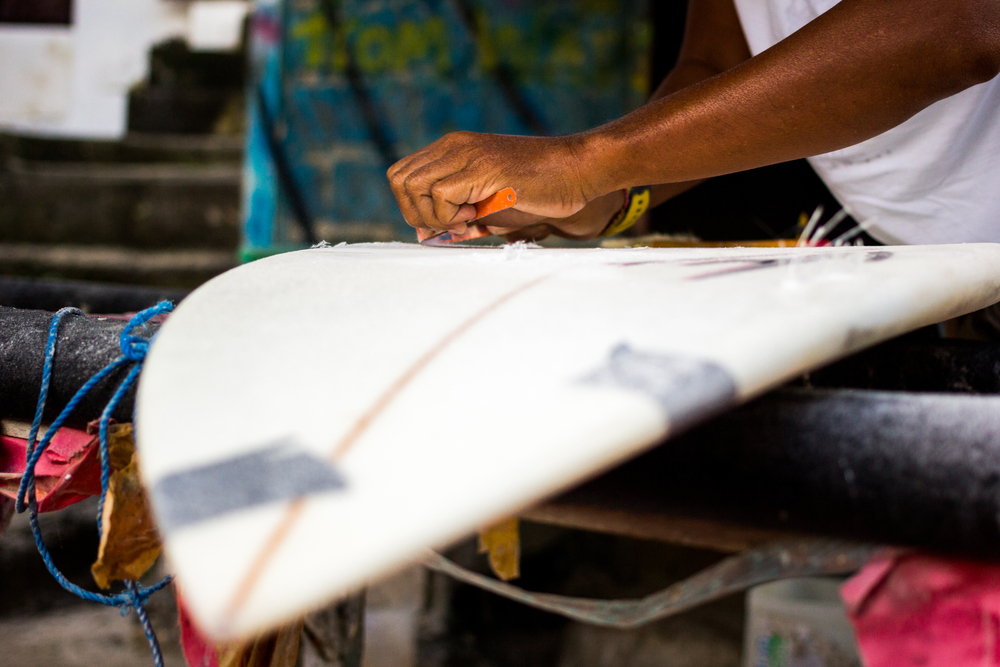
With a utility knife or similar tool, remove any loose or damaged fiberglass pieces. The edges should be clean. Afterwards, “sand the area well so that the resin adheres better when you apply it.” Use medium-grit sandpaper (80-120).
Step 3: The Mixture (if using traditional resin)
Now it’s time to prepare the resin. Remember: “use polyester resin, (if your surfboard is epoxy, you must use epoxy resin).” Mix it with the catalyst following the manufacturer’s instructions (usually just a few drops). You can add glass microspheres to give the mixture more body.
Step 4: Masking the Area
Surround the area to be repaired with painter’s tape. This will prevent the resin from spilling and will give you a much cleaner finish.
Step 5: Applying the Resin (and the Plastic Sheet Trick)
Fill the hole with the resin. And now, pay attention: “A great trick for repairing your surfboard is to cover the resin with a plastic sheet to press and mold it.” A piece of packing plastic or cellophane works perfectly. Press gently so the resin takes the shape of the rail or surface and eliminates air bubbles. You’ll save a ton of sanding time!
Step 6: Curing
Let the resin dry completely. The time will depend on the brand and ambient temperature, but be patient. A few hours at a minimum.
Step 7: The Final Sanding
“The last step to repair your surfboard will be to sand the resin.” Remove the plastic and start sanding the excess resin with medium-grit sandpaper (120-150). When it’s almost level, switch to a finer grit (220, 400…) for a smooth, perfect finish.
What We Teach at Peña Txuri about Gear Care
In our courses, like in our first surfing course, we always insist on these key points:
- Identify your board’s material to always use the correct resin.
- Act quickly on a ding to prevent water from getting in.
- Always have a quick-repair kit in your van or backpack.
- Patience during the drying and sanding process is the key to a good finish.
A Repair Tells a Story
Every repaired ding on your board is a scar that tells a story: a powerful wave, a misplaced step, an epic day. Learning to repair it yourself will not only save you money but will also teach you to know your equipment better and to appreciate the craftsmanship behind every board.
Now you’re ready to get your board looking like new! Get to it!

